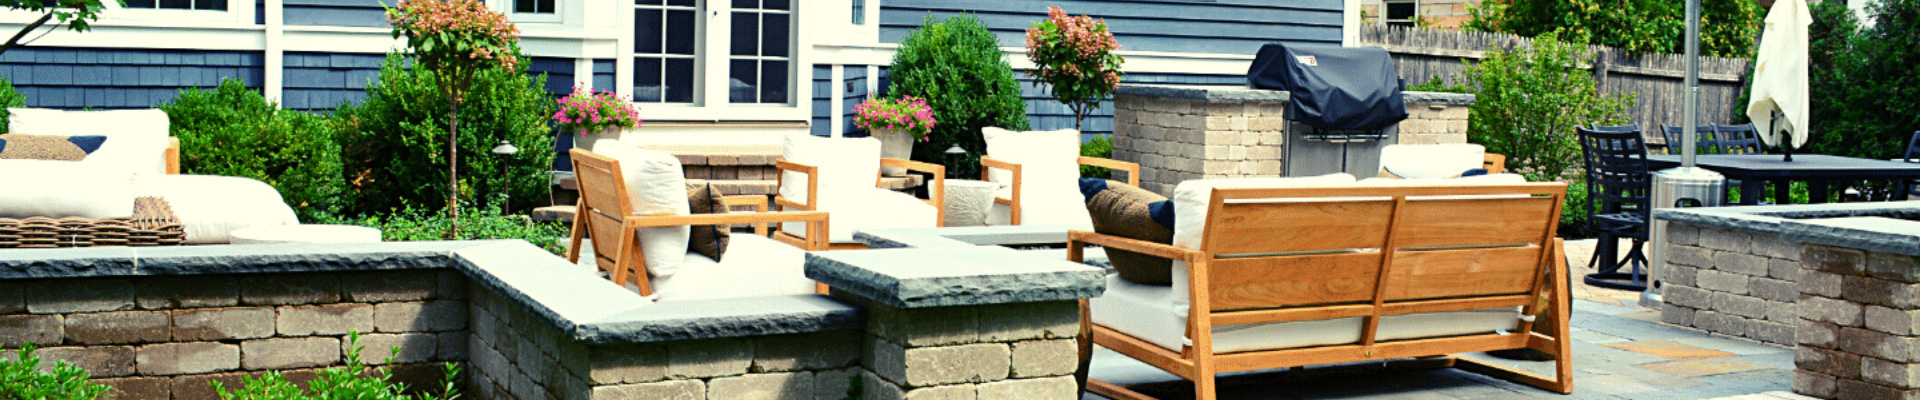
If you are searching for landscape design and installation near Chicago, you are probably imagining the end result: a patio that finally fits the way you entertain, a front yard that looks finished, or a backyard that feels like an outdoor room.
What most homeowners and property managers underestimate is how many steps happen before installation begins. A successful project is not only about choosing plants or pavers. It is about process: site survey, concepts, materials, scheduling, installation planning, and a final punch list that makes sure the work is complete.
Below is a clear walkthrough of the design-build process and what you can realistically expect in Chicagoland, including how seasonality affects timelines.
Step 1: The Initial Conversation, Goals, Style, and Scope
Most projects start with a consultation to understand:
- How do you want to use the space
- What problems are you trying to solve (drainage, privacy, worn turf, outdated beds)
- Your style preferences and inspiration
- Budget range and whether you want phased improvements
- Timing goals for installation
For North Shore properties, this is also where salt exposure, wind, and architectural style often shape early decisions.
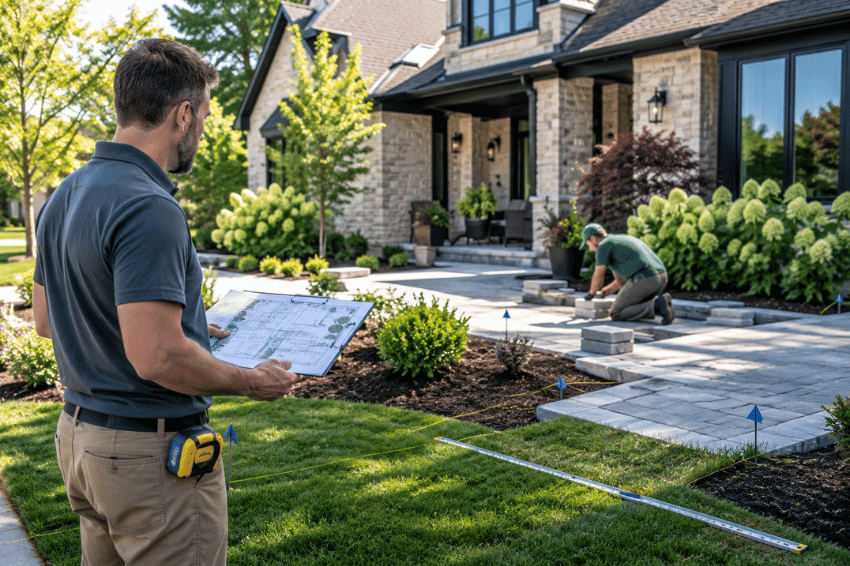
Step 2: Site Survey, The Foundation for a Buildable Plan
A site survey is where the project becomes real. Depending on the scope, the survey process may include:
- Measurements and property layout
- Grade and drainage observations
- Existing features and constraints
- Utility awareness and site access planning
- Photo documentation for design work
This step matters because accurate measurements prevent design surprises later and help installation crews build exactly what was planned.
Step 3: Concept Design and Layout Planning
Once the site is documented, design moves into concept planning. This is where your space gets structured.
Concept design typically includes:
- Layout options for patios, walkways, beds, and key features
- Planting concepts and screening ideas
- Circulation and access planning
- Drainage considerations tied to the layout
- Material direction that matches your style
This stage is also where the best ideas get refined. A good design process allows time for feedback and adjustment, so you are not forced into rushed decisions.
Step 4: Material Selection and Budget Alignment
After the concept is approved, the project moves into detailed decisions and pricing.
This often includes selecting:
- Pavers, stone, or wall systems
- Edging and border details
- Steps and grade-change solutions
- Lighting packages and fixture types
- Plant sizes and palette direction
- Drainage components, if needed
In Chicagoland, material selection also needs to consider freeze-thaw durability and long-term maintenance expectations.
Step 5: Scheduling the Work, and Why Seasonality Matters
Scheduling is where Chicago reality shows up. Weather affects start dates, soil conditions, and how quickly certain phases can be completed.
Here is what to expect by season:
Late Winter to Early Spring
This is peak planning time. Design calendars fill quickly, and materials start to move more slowly as demand ramps up.
Best for:
- Design work and approvals
- Site planning and staging
- Reserving install time early
Mid to Late Spring
This is where installation demand spikes. Crews are busy, and weather swings can cause schedule shifts.
Best for:
- Hardscape installation once soil conditions allow
- Planting once frost risk drops and soil warms
Summer
Summer is strong for installation, but heat can stress new plantings without good watering plans.
Best for:
- Hardscape and structural features
- Projects with a clear irrigation or watering strategy
Fall
Fall is excellent for many landscape installations, especially trees and shrubs. Cooler air reduces stress while the soil remains warm.
Best for:
- Planting and establishment
- Finishing phases before winter
Step 6: Installation Day, What the Build Typically Looks Like
Installation can vary by scope, but most design-build projects follow a sequence that protects the finished result.
Common phases include:
- Site preparation and protection of existing areas
- Excavation, grading, and base prep (for hardscape)
- Drainage work as needed
- Hardscape installation (patios, walkways, steps, walls)
- Soil prep and planting
- Mulch, edging, and final bed shaping
- Lighting installation and testing
- Final clean-up and site reset
The best installs look organized. The site is staged properly, materials are handled safely, and each phase supports the next.
Step 7: Punch List and Final Walkthrough
A punch list is the final quality step. It ensures details are finished, corrected, and confirmed.
Punch list items often include:
- Level checks and alignment details
- Edge restraint verification
- Jointing and finishing work
- Planting adjustments or replacements if needed
- Lighting aim and performance checks
- Final cleanup and site review
This is where a project goes from “mostly done” to “fully finished.”
What You Can Do to Help Your Project Run Smoother
If you want a smoother process and better outcome:
- Start planning early, especially for spring installs
- Be clear about priorities and budget
- Choose materials that match Chicagoland’s durability needs
- Expect weather-related schedule adjustments
- Ask about watering and establishment plans for new plantings
A good landscape designer and installation team will guide you through decisions without overwhelming you.
A Clear Process Creates Better Results
Landscape design and installation near Chicago is most successful when the project follows a structured design-build process, from site survey through punch list. That structure protects your budget, your timeline, and the final quality.
If you are planning a landscape project in the Chicago area or on the North Shore, Martin John Company can help you move from ideas to installation with a process built for our seasonality.
Contact us to start the design-build conversation and schedule a site visit.